Things You Need To Know When Installing Floating Shelves
Feb 21, 2022, Updated Mar 01, 2022
There are all kinds of new trends in home renovation and interior design. One of the most popular trends in homes today is floating shelving. A floating shelf is a type of shelf that sits cleanly against a wall with no sign of support visible. They add a modern and unique flair to any room, and they serve as a fantastic solution for extra storage or display space. The installation process can seem tricky at first, but it is quite simple once you understand how to do it. Here are the things you need to know when installing floating shelves.
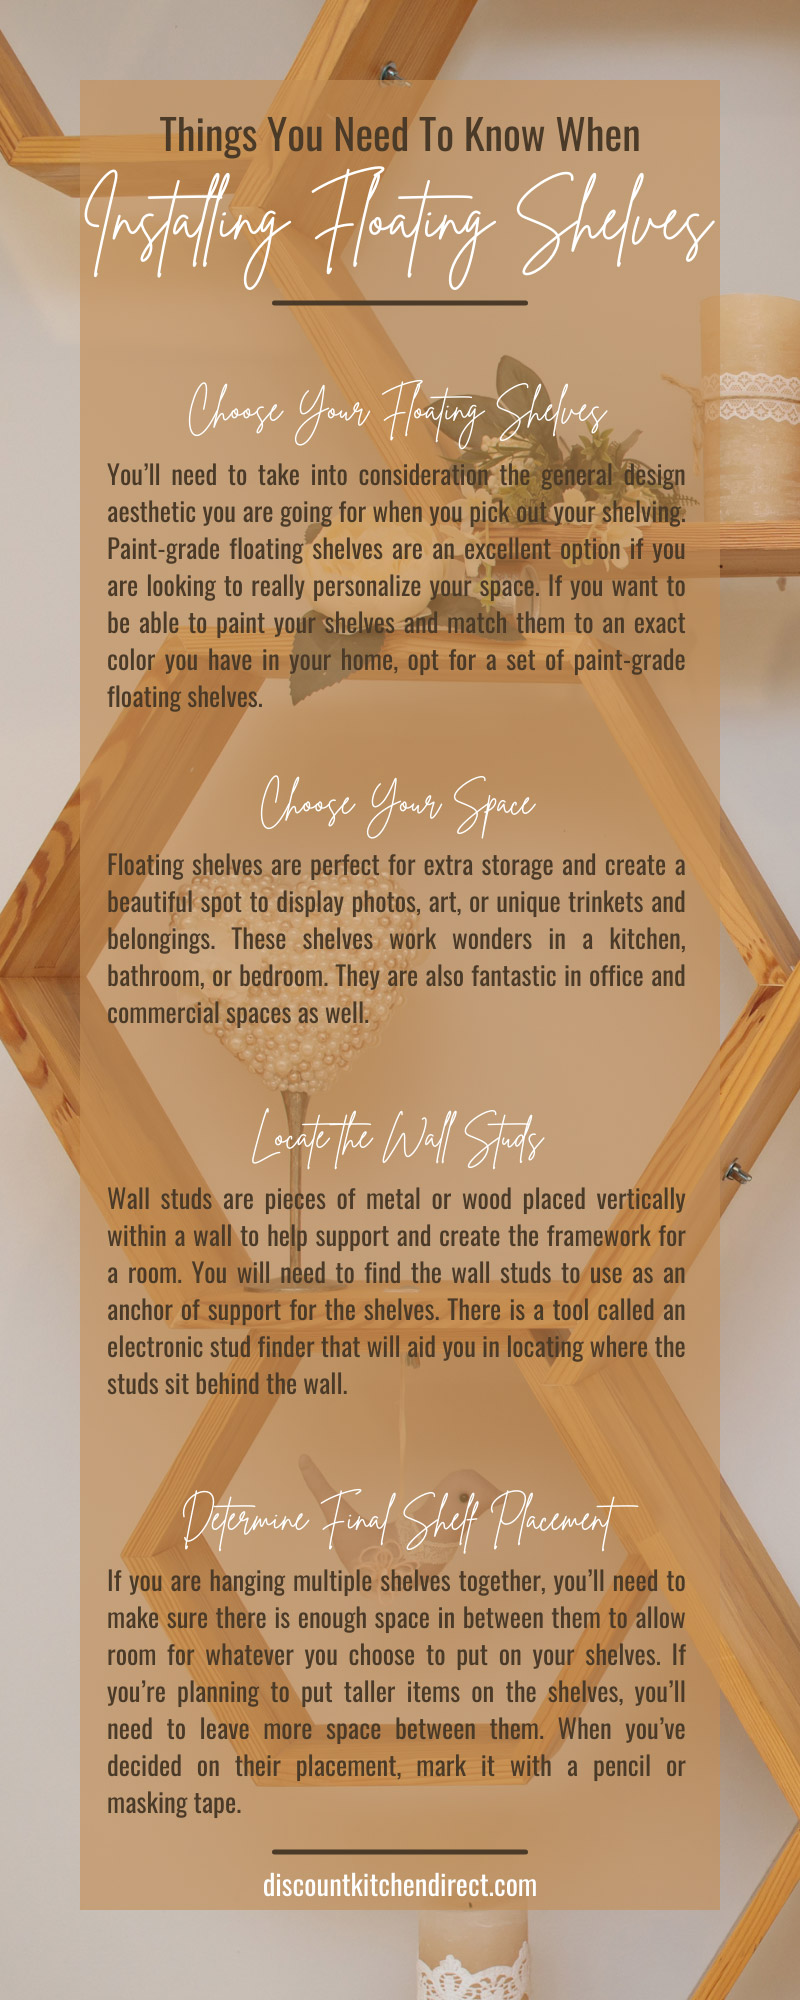
Choose Your Floating Shelves
The first step in the process is picking out which shelves you would like to use. You’ll need to take into consideration the general design aesthetic you are going for when you pick out your shelving. Paint-grade floating shelves are an excellent option if you are looking to really personalize your space. If you want to be able to paint your shelves and match them to an exact color you have in your home, opt for a set of paint-grade floating shelves. Many other models of floating shelves come with different finishes, which makes painting them difficult.
Choose Your Space
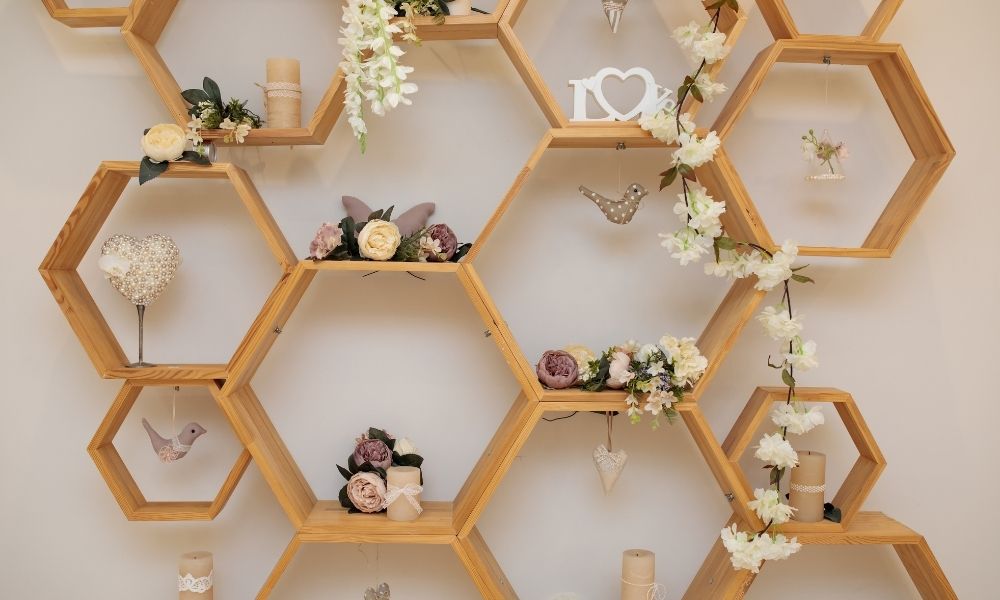
Next comes deciding which room you wish to hang the floating shelves within your space or home. Floating shelves are perfect for extra storage and create a beautiful spot to display photos, art, or unique trinkets and belongings. These shelves work wonders in a kitchen, bathroom, or bedroom. They are also fantastic in office and commercial spaces as well. Do some brainstorming to figure out which room you would like your shelves.
Locate the Wall Studs
Once you have chosen the perfect room to hang the floating shelves, you will now need to locate the studs within the wall of that room. Wall studs are pieces of metal or wood placed vertically within a wall to help support and create the framework for a room. You will need to find the wall studs to use as an anchor of support for the shelves. There is a tool called an electronic stud finder that will aid you in locating where the studs sit behind the wall. Stud finders are most effective when working with drywall. When you believe you have found the stud, locate several points on it to make sure it runs vertically. Doing this will help ensure that it is a wall stud and not something else. The general spacing between studs is sixteen to twenty-four inches apart. You’ll need to make sure you mark the location of the studs once you have found them.
Determine Final Shelf Placement
Now that you’ve located the wall studs, you will determine the best placement for your floating shelves. If you are hanging multiple shelves together, you’ll need to make sure there is enough space in between them to allow room for whatever you choose to put on your shelves. If you’re planning to put taller items on the shelves, you’ll need to leave more space between them. When you’ve decided on their placement, mark it with a pencil or masking tape.
Attach the Brackets
After deciding the placement of your shelving, you will need to attach the brackets to the wall. Your brackets will need to be in alignment with your stud markings. In order to ensure that your shelves will be straight, you’ll need to use a level when attaching the brackets to the wall studs. Use a pencil or tape to mark the placements for your brackets and double-check to make sure they fall along a straight, leveled line. Now you are ready to begin installing the brackets into the wall. Place screws into the designated spots on the brackets and use either a screwdriver or drill to screw it securely in the wall. This process will vary slightly depending on what type of wall you have.
Attach the Shelf Casings
The final step in the installation process is attaching the shelf casings to the brackets. Before you attach them, you will want to clean the casings thoroughly and make sure they are free of dust and dirt. This is also the point in the process where you paint your shelves if you haven’t already. If you do decide to paint your shelves, you will want to wait at least twenty-four hours for the paint to dry completely before installing them. Once you have finished cleaning and painting your shelves, you are ready to attach them. Carefully slide the shelf casing onto the bracket and then secure the casing in place by tightening the screws found underneath the shelf. Use a screwdriver or drill to tighten the screws.
Decorate
Finally, you can put your shelves to good use now that you’ve installed them. Fill them with cherished memories in family photos, or display proud achievements like diplomas and trophies. You get to have fun with how you utilize your new floating shelves. Floating shelves are perfect for books in a library, bowls in a kitchen, supplies in an office, art in a living room, and so much more. Whether you have chosen to use your shelving for storage or display, or even both, you get to add your own personal flair to the project. You will find your perfect purpose for your shelving.
Now that you have all the things you need to know when installing floating shelves, you can get started on your project today. Make sure you have all the supplies you need to begin the installation. Check out Discount Kitchen Direct for a high-quality selection of paint-grade floating shelves. They have a variety of ready-to-finish shelving kits that come with an installation set, as well as instructions to help you get your floating shelves up onto the wall of your choice as quickly as possible. Discount Kitchen Direct has shelves ranging from twenty-four to fifty-four inches in length. Whatever your floating shelf needs may be, Discount Kitchen Direct will be able to accommodate you and help to get your home looking fabulous with this latest home improvement trend.